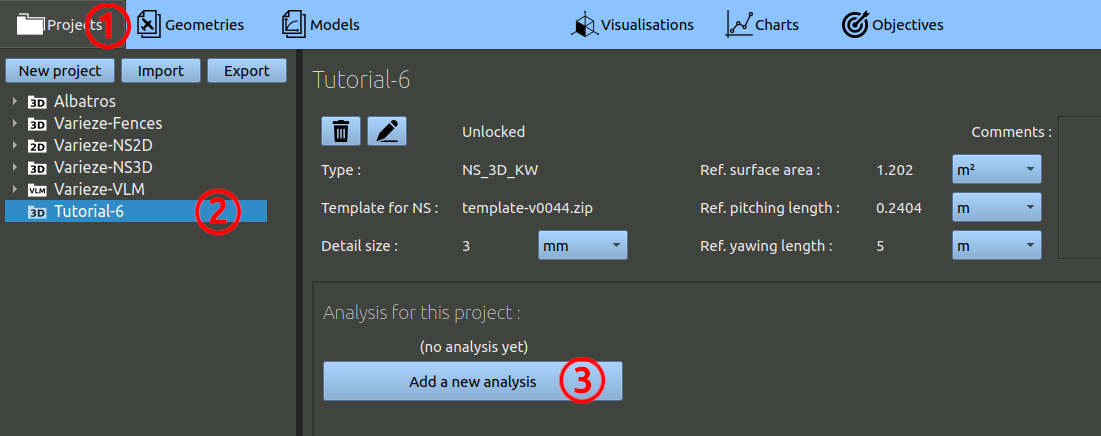
- In the navigation bar, click 'Projects'.
- In the tree on the left, choose the project corresponding to this tutorial.
- Finally, click the 'Add a new analysis' button.
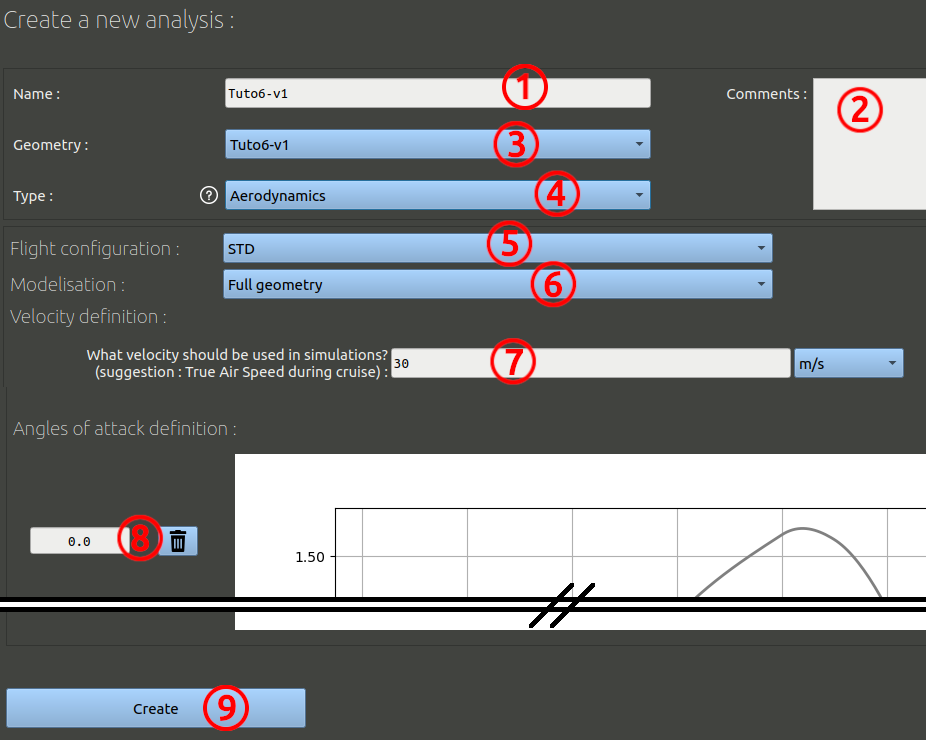
- We can name this first analysis "Tuto6-v1", as it is run on the reference geometry.
- It is optional, but you can add comments.
- Make sure the geometry selected is the one you created before.
- The analysis type should be 'Aerodynamics'.
- Make sure the configuration is the one you created before.
- We need a "Full geometry" modelisation because the rotor creates a dissymetry.
- Set a 30 m/s air speed.
- Set a 0° angle of attack.
- Validate the form at the bottom.
Send the run created to the Queue and wait for the run to be fully processed. With an 11-cores process, this takes 3 to 4 hours.